HOW TO
northern lights photography tips
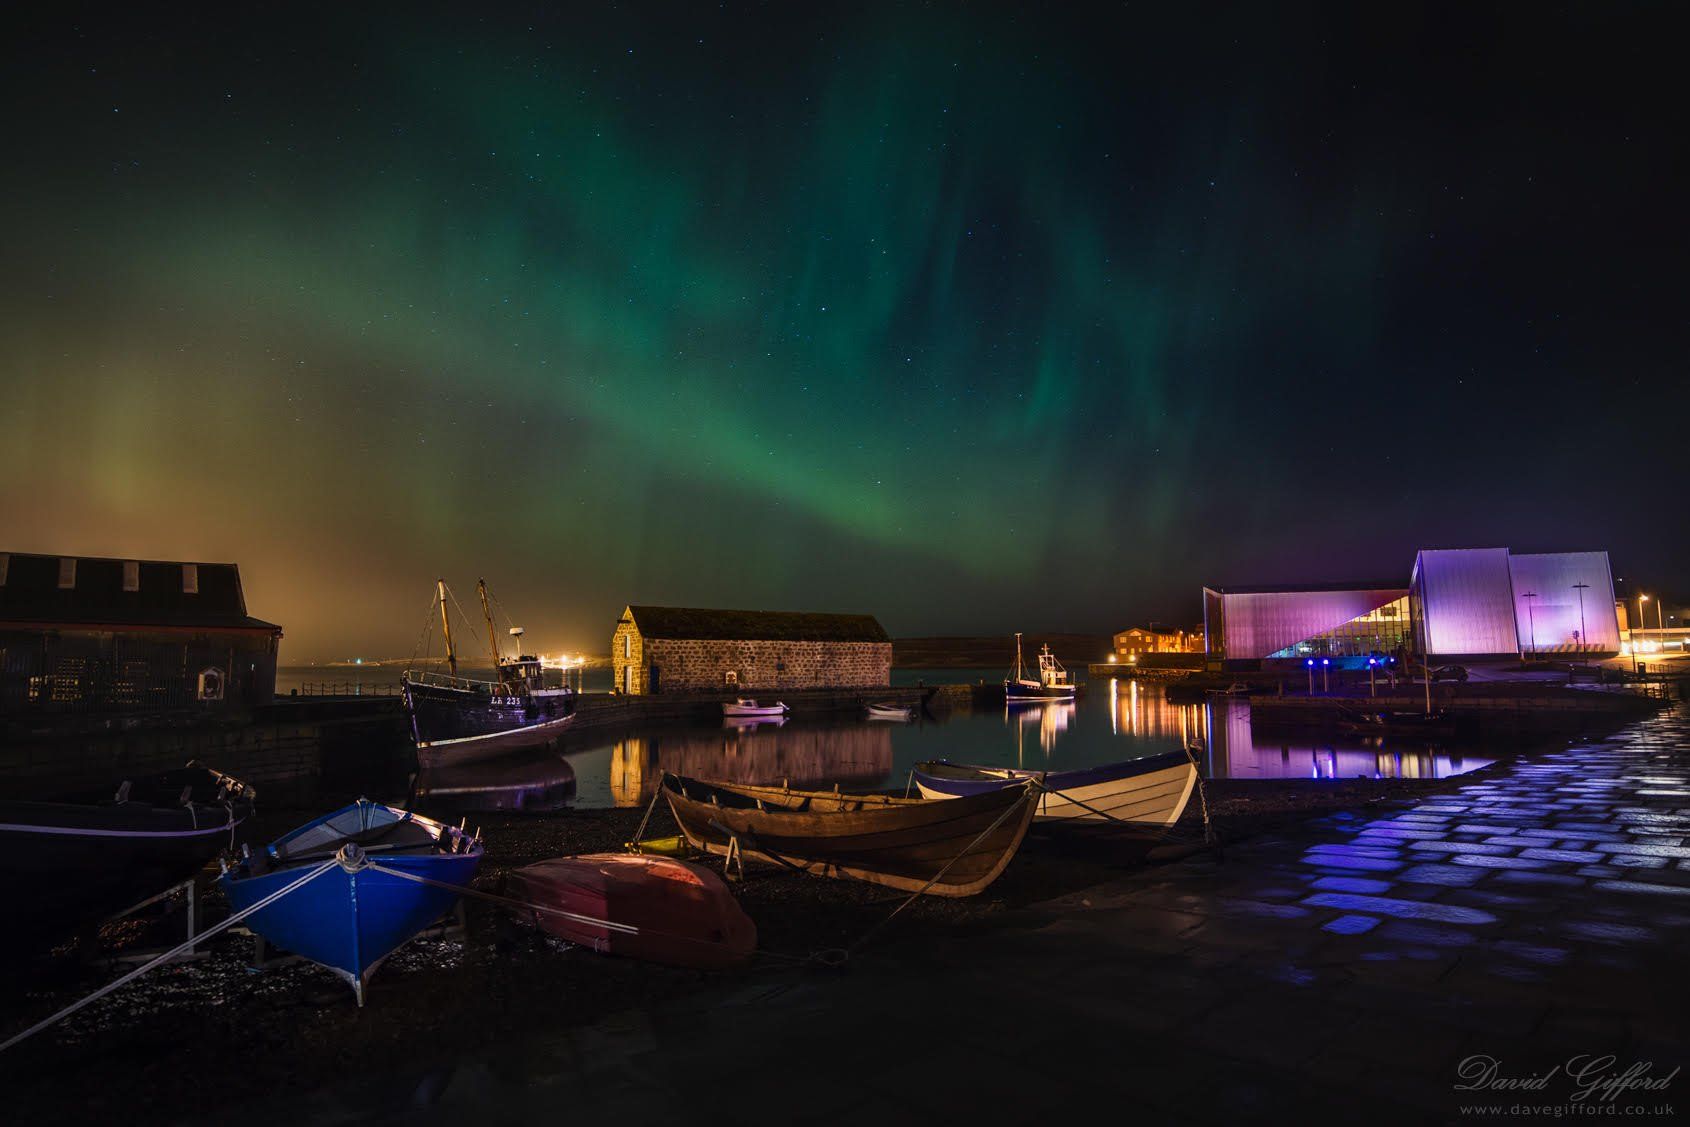
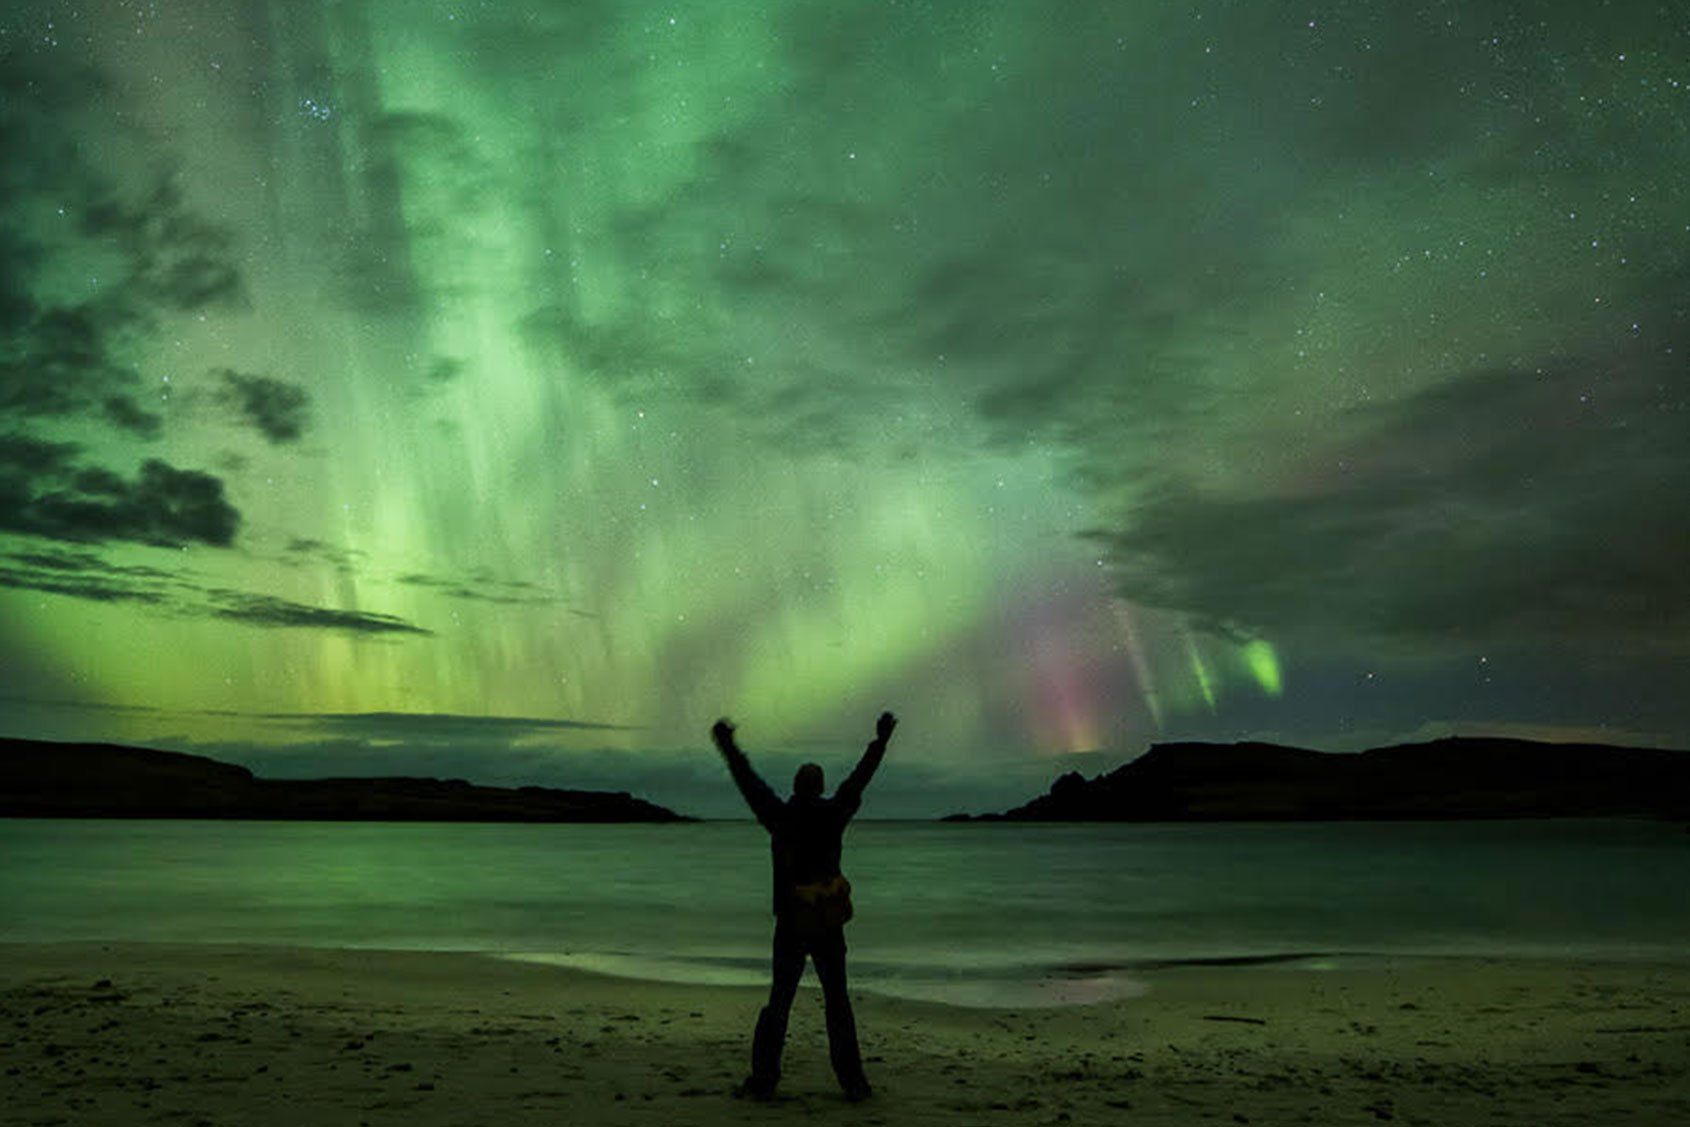
DAVID GIFFORD
1. Get Notified
I've only experienced a handful of really excellent opportunities to photograph aurora in Shetland. So getting notifications of aurora activity is extremely useful. I use the Aurora WatchUK app on my phone to get alerts, and the Shetland Webcams Cliff Cams to get a visual indication of current activity and cloud cover.
2. Use the Gear
I think people get too hung up about camera equipment, myself included. You might need to use longer exposures, but I've been surprised to see fine aurora photos and timelapses taken on basic cameras, even including things like old and inexpensive GoPro models (which I wouldn't have thought possible). The important thing is to get outside and take photos.
That being said, if you can afford it, using a full-frame camera with good low-noise/high-ISO capabilities, combined with a fast lens, will definitely help with image quality and give you more creative options. Tell Ben at the Camera Centre I sent you :)
If you're buying equipment, make sure to allocate budget for a decent tripod - the cheap ones can be a false economy. The rest of your gear won't matter for capturing aurora if your images are ruined by an unsteady platform - especially in a Shetland breeze!
3. Keep warm and safe
Clear skies in Shetland in winter are often accompanied by frost, so take care and don't drive if it isn't safe.
From a photographic point of view, nothing reduces my ability to compose and take photos faster than getting numb fingers, so I find keeping my hands warm is essential.
And when you get back in from the cold, be careful to prevent or minimise condensation from forming inside your camera body and lens - try to warm them up gradually.
4. Post-processing
I don't overly worry about making the aurora look 'realistic' in artistic photos - a camera can capture aurora much better than the human eye. However, photos of aurora I think are particularly easy to ruin in editing by over-doing things like saturation, clarity, and noise reduction. I prefer photos of aurora where there's a balance of vividness and subtlety.
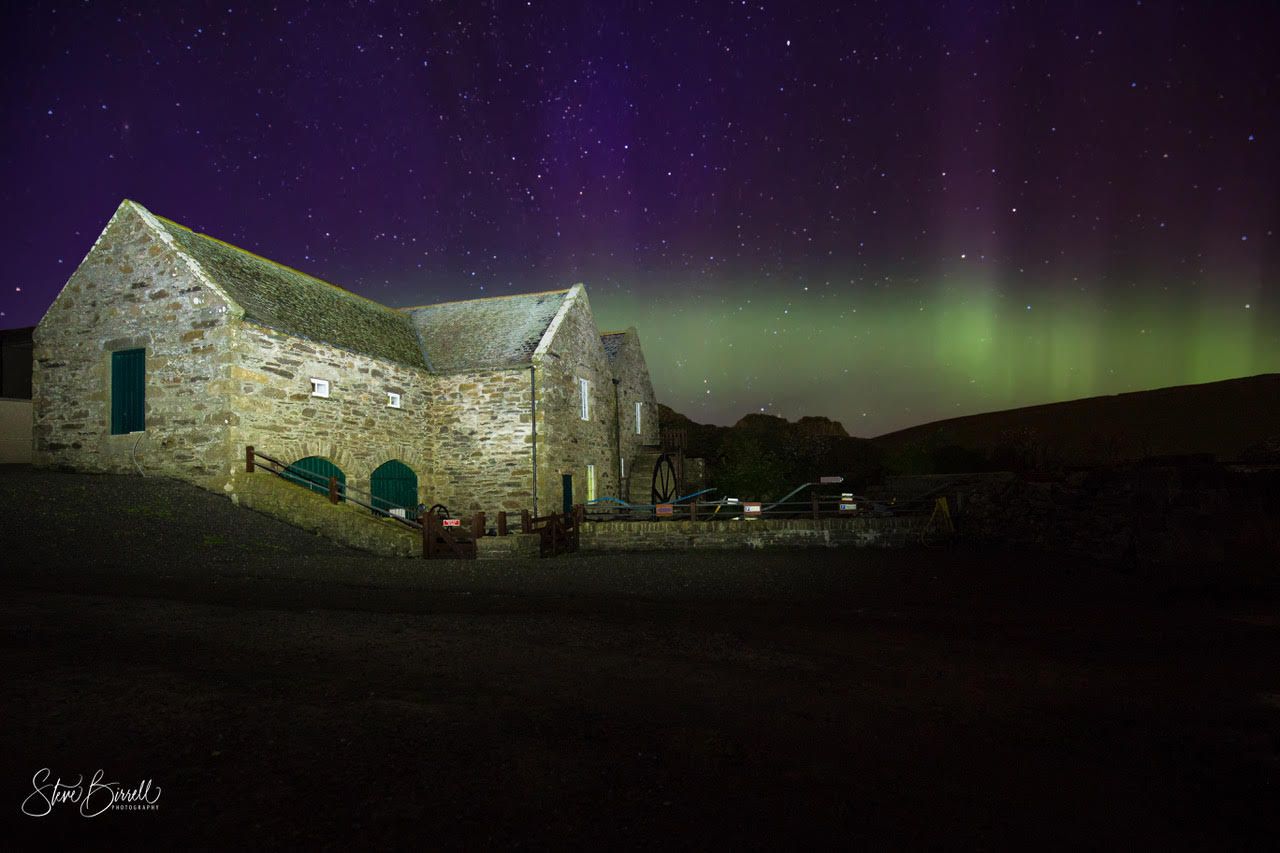
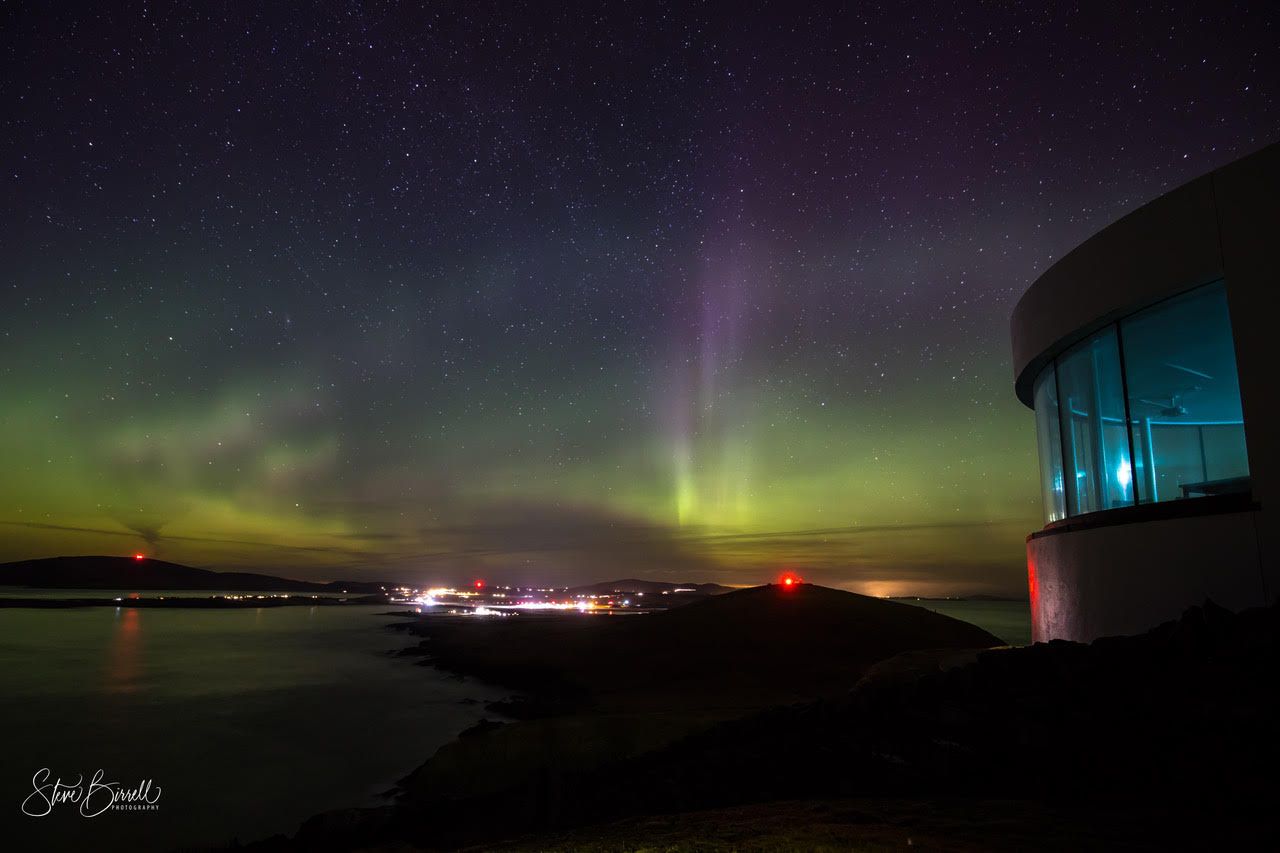
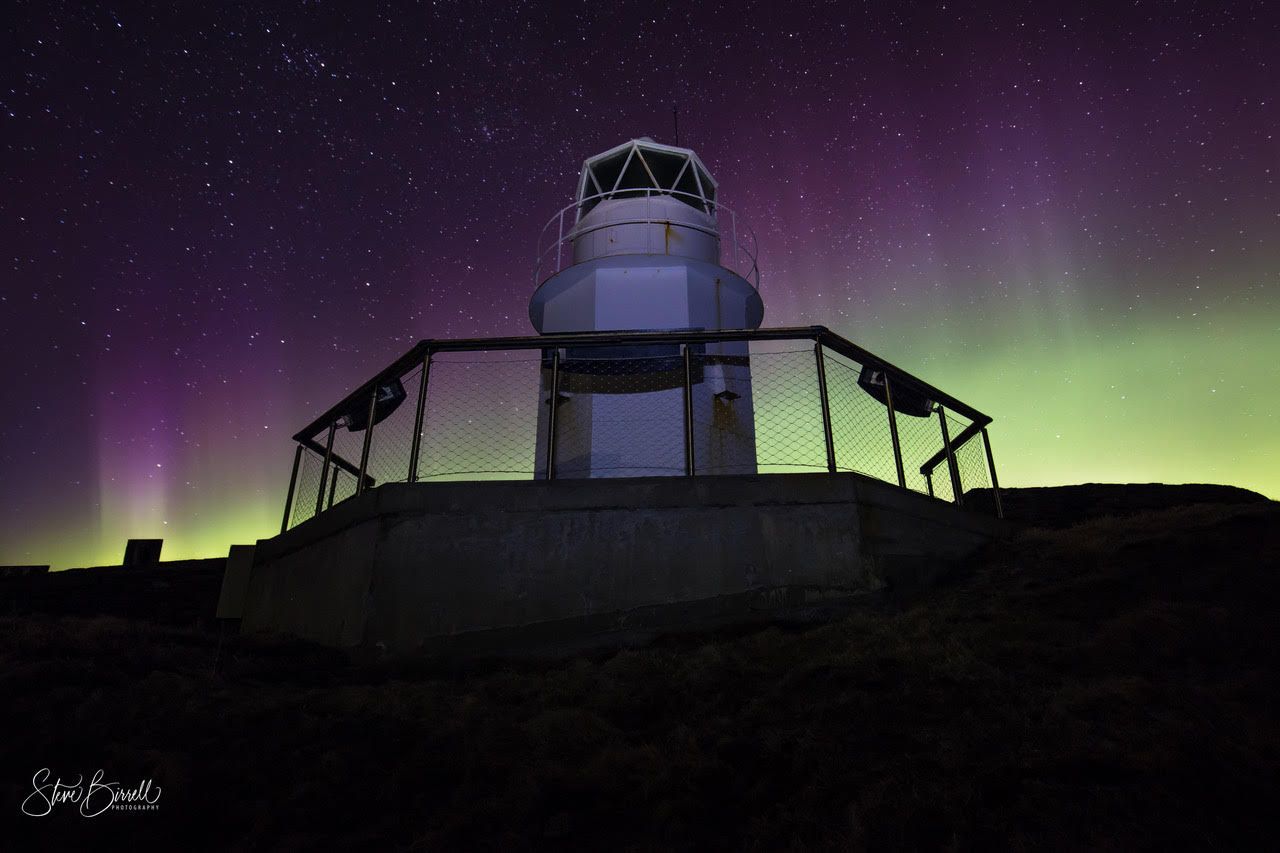
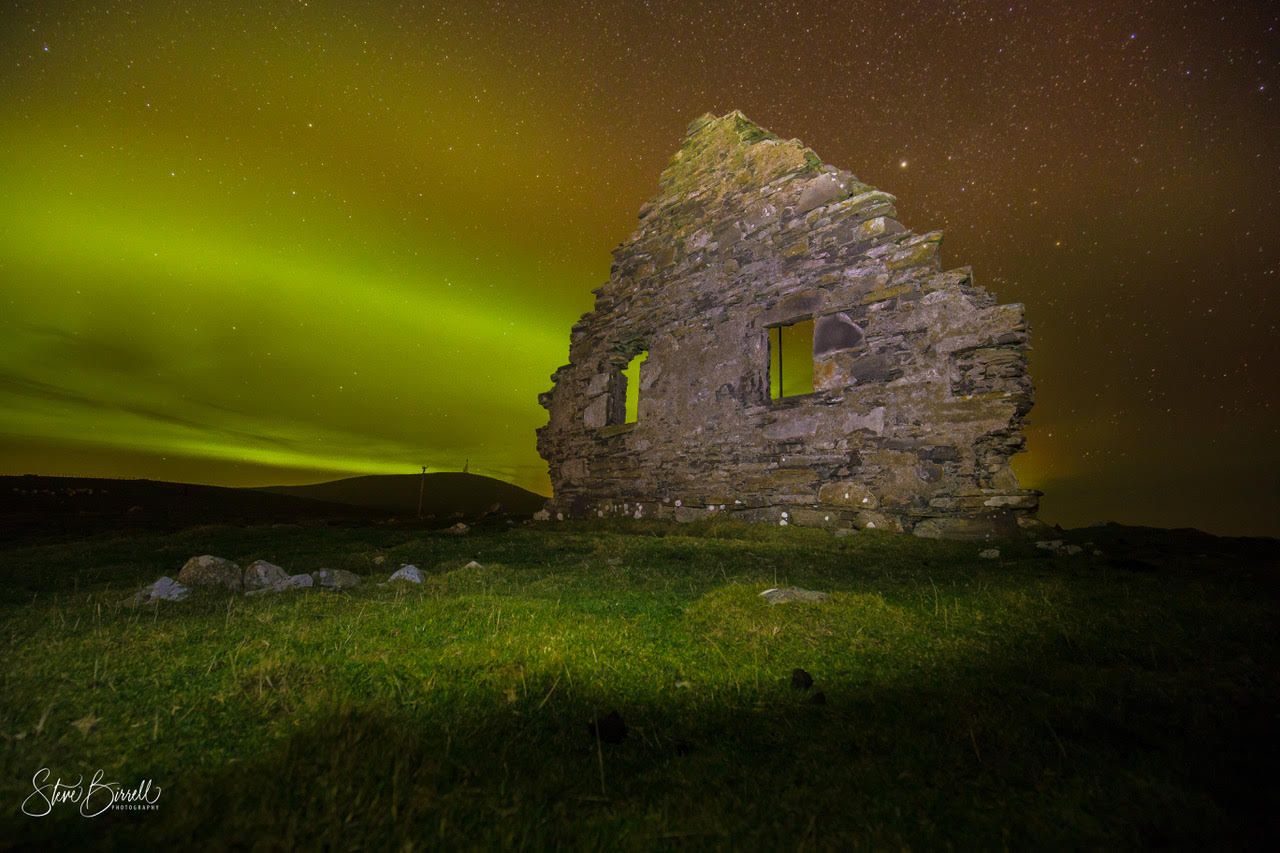
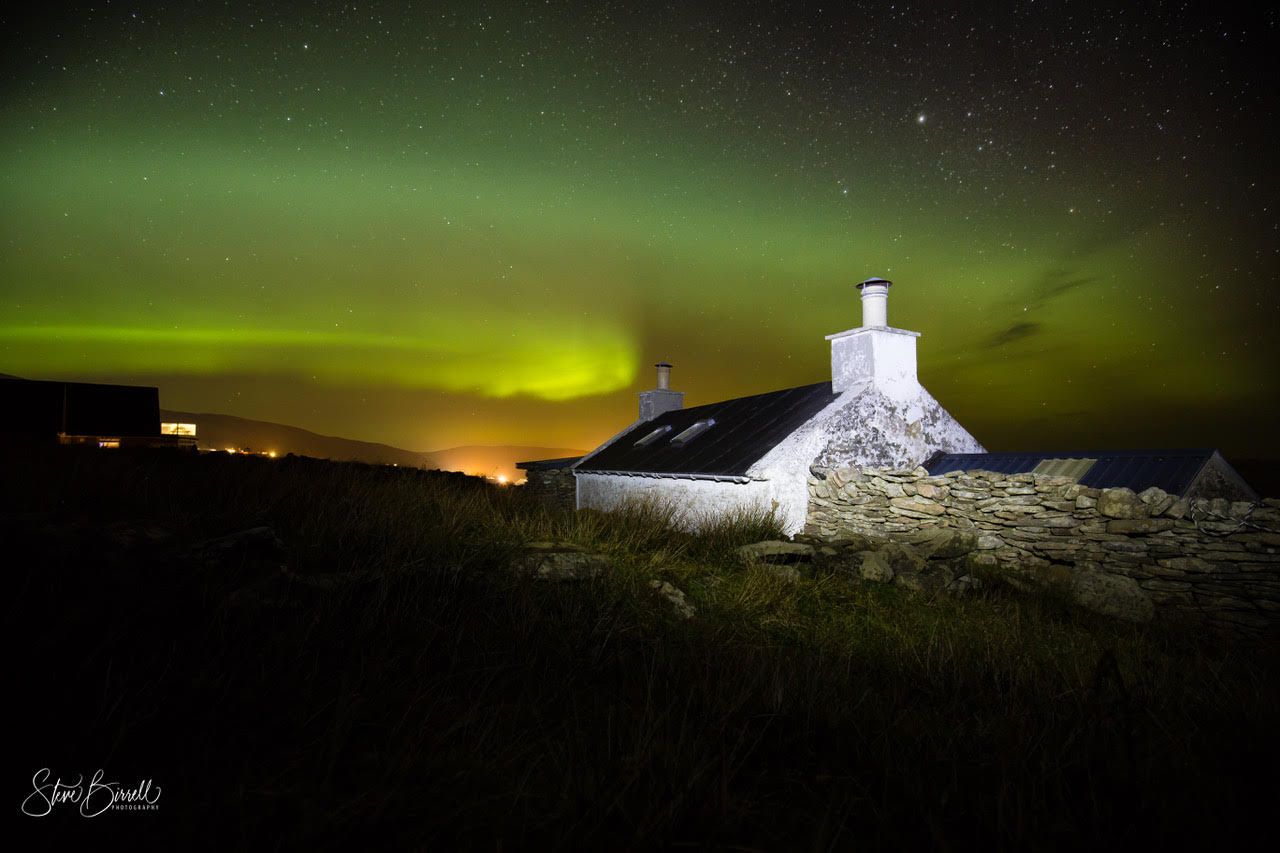
STEVE BIRRELL
There’s really only two pieces of equipment you need to capture the Northern lights - a camera with a long shutter speed function and a tripod.
I generally like to compose my pictures so there is something in the foreground, although that’s not the case for others. If you do want to have something in the foreground, scout it out beforehand during the day so you know what direction you’ll be coming from and invest in a head torch you can dim.
These pics are around the 25-30 second exposure time using a 16mm - 35mm lens on a Canon 6D at f4.5. You’ll need to adjust your ISO to around 1250 to begin with,then adjust it up from there but keep it within the 30 sec area or you’ll start to see the stars getting blurry.
When the shutter is open, lighten your foreground with a little light from your head torch (it doesn’t take much). After you’ve closed the shutter have a look at your image on preview then adjust your camera and the light etc until you get the picture you want.
It really does take a lot of practice and every location is different, but the more you do it the more you get comfortable about what you’re doing.
JOHNNY SIMPSON
We sat down with Johnny who regularly prints his Northern Lights/Aurora images with us here at Camera Centre. Here is a summary of his top tips:
- Set focus on manual
- Use a high ISO – start at ISO 1600 and increase/decrease as necessary. Use as low an ISO as you can get away with although modern cameras show little noise/grain at really high ISOs
- Use a wide aperture such as f2.8 or as wide as your particular lens can go
- Be patient and wear warm clothes
- A tripod is a must-have accessory and using your camera bag to weigh the tripod down gives extra stability
- Release the camera’s shutter with a cable/remote release. If you have neither the camera’s self-timer is a good option
Sources of information: